Manage User Profiles and Permissions
When you’re building apps where different people need to log in (like your team, clients, or customers), you’ll want to decide who gets access to what. That’s where the 'Users & Permissions' section comes in.
Apper makes this super simple. You don’t need to write access logic or worry about roles and security - it’s all visual and already built-in.
This section has 3 key components:
- Users: Invite people to your app so they can log in
- Profiles & Permissions: Decide what each role can do (like view, edit, or manage data)
- Public Access: Control what non-logged-in users can see or submit
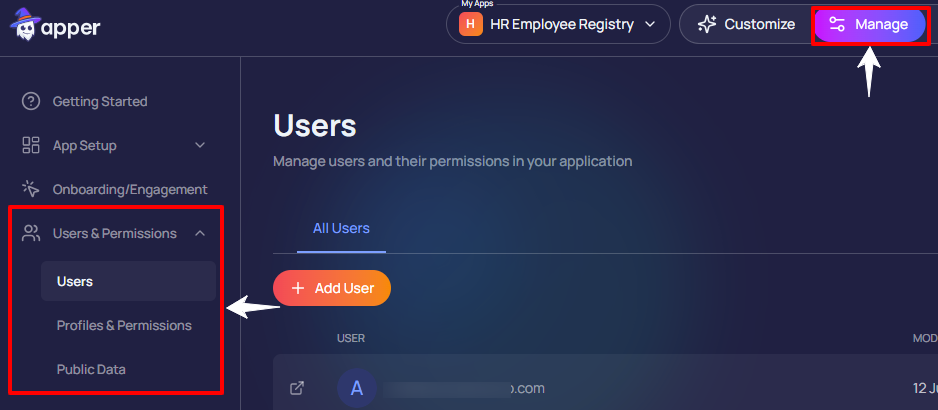
Each component is neatly organized into separate tabs within the Manage panel.
1) Users Tab – Invite and View Members
To get started, open the Users tab. This is where you invite people to your app.
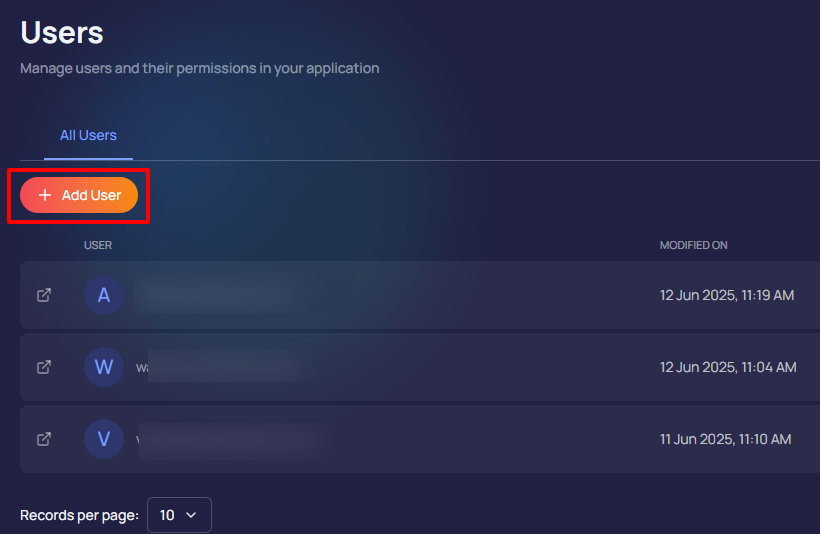
Click “ + Add User” → Enter their email address → Set a password for them → Click Send
That’s it, they’re in!
You can invite one person or many at once by separating emails with commas.
Example: [email protected], [email protected]
Don’t want specific users to go through the usual email confirmation? Toggle on Auto Confirm Email — great for trusted teammates.
Once invited, users will appear in the list with their email and the date they were added.
You don’t have to assign their permissions right away, set those anytime under Profiles & Permissions (coming soon - currently all the users have admin permissions).
2) Public Data
Let’s say someone opens your app but hasn’t signed up or logged in yet. You might still want them to:
- See your homepage
- Browse your class schedule
- Fill out a contact or trial form
This is where the Public Data section helps.
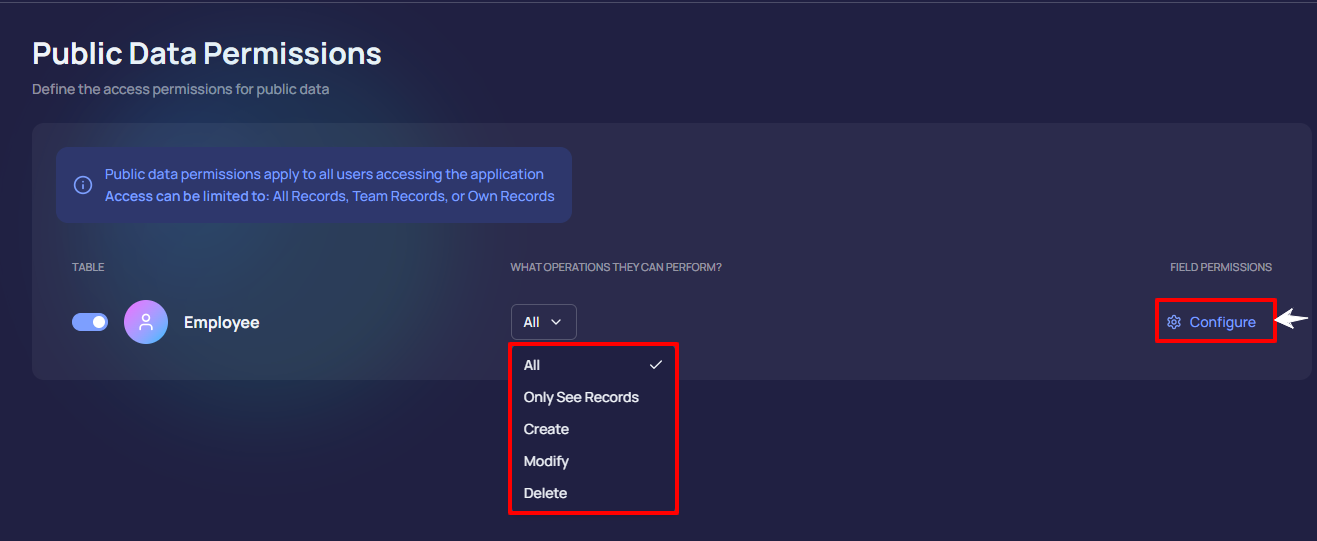
Inside the Public Data tab, you’ll see a list of your app’s tables — like Classes, Employees, etc.
Next to each table is a toggle switch. Turn it on to make that information visible to everyone (even people who aren’t logged in).
Then use the dropdown under “What operations can they perform?” to choose:
- Only See Records: Let them view info like class schedules
- Create: Let them fill out a form
- Modify / Delete: Usually not needed for public users
- All: Gives full access (use only if necessary)
Want to control what fields they can or can’t see? Click the Configure button beside the table.
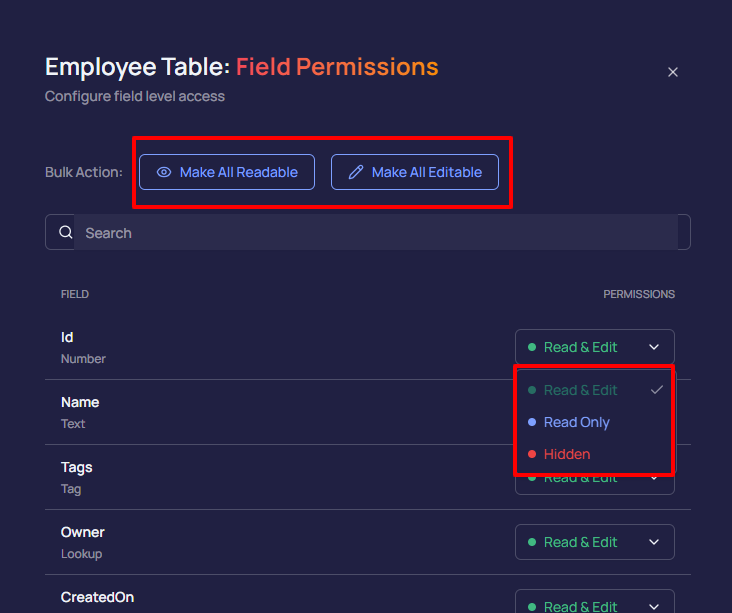
This opens all the fields (like name, tags, internal notes, etc.). For each one, you can choose:
- Read Only: It’s visible
- Read & Edit: It’s editable (for forms)
- Hidden: It won’t show at all
Use Make All Readable or Make All Editable at the top to apply settings to all fields at once.
This gives you full control over what non-logged-in visitors can access — and keeps sensitive info hidden.