Billing and Revenue
You’ve built something great with Apper. Now it’s time to start making money from it.
Whether it’s a tool, course, or community, Apper makes it easy to set up pricing, offer subscriptions, and collect payments.
To keep things flexible, the Billing & Revenue section is divided into 3 parts:
- Tiers & Plans – Define your main pricing structure
- Addons / Credits – Lay out extra features or pay-as-you-go upgrades
- Stripe Settings – Built-in Stripe integration for accepting real payments
Let’s go through each one step by step.
1] Tiers and Plans
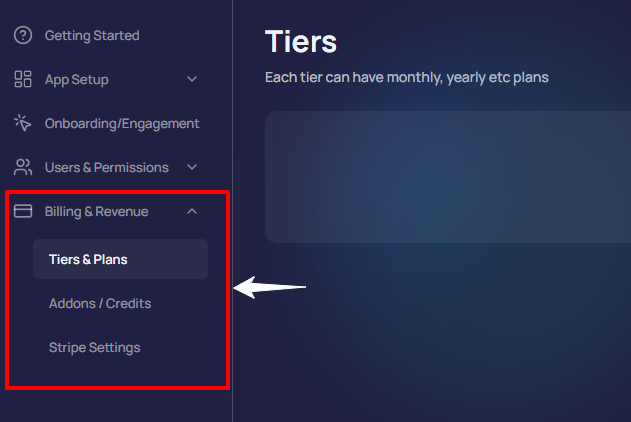
Step 1: Go to Tiers & Plans
In the left sidebar, open Billing & Revenue → Tiers & Plans.
If no plans exist yet, click + New Tier on the top right.
Step 2: Select the Type of Plan
Choose the Tier Type:
- Free Plan: Completely free access
- Trial Plan: Free access for a limited time
- Paid Plan: Monthly, yearly, or one-time paid subscriptions

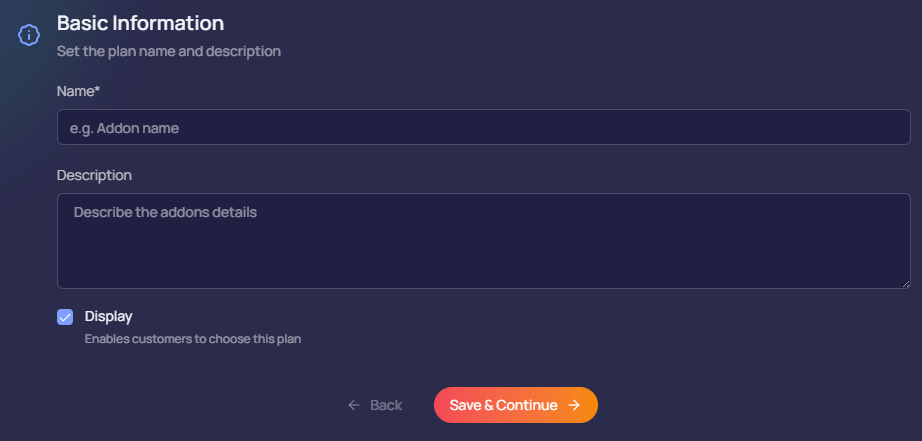
Step 3: Enter Free plan details
If you select the free plan, you'll need to fill out basic information:
- Name: What your plan is called
- Description: Summary of what’s included
- Display: Toggle ON to show this plan to users
Once done, click Save & Continue
Step 4: Configure Trial Plan
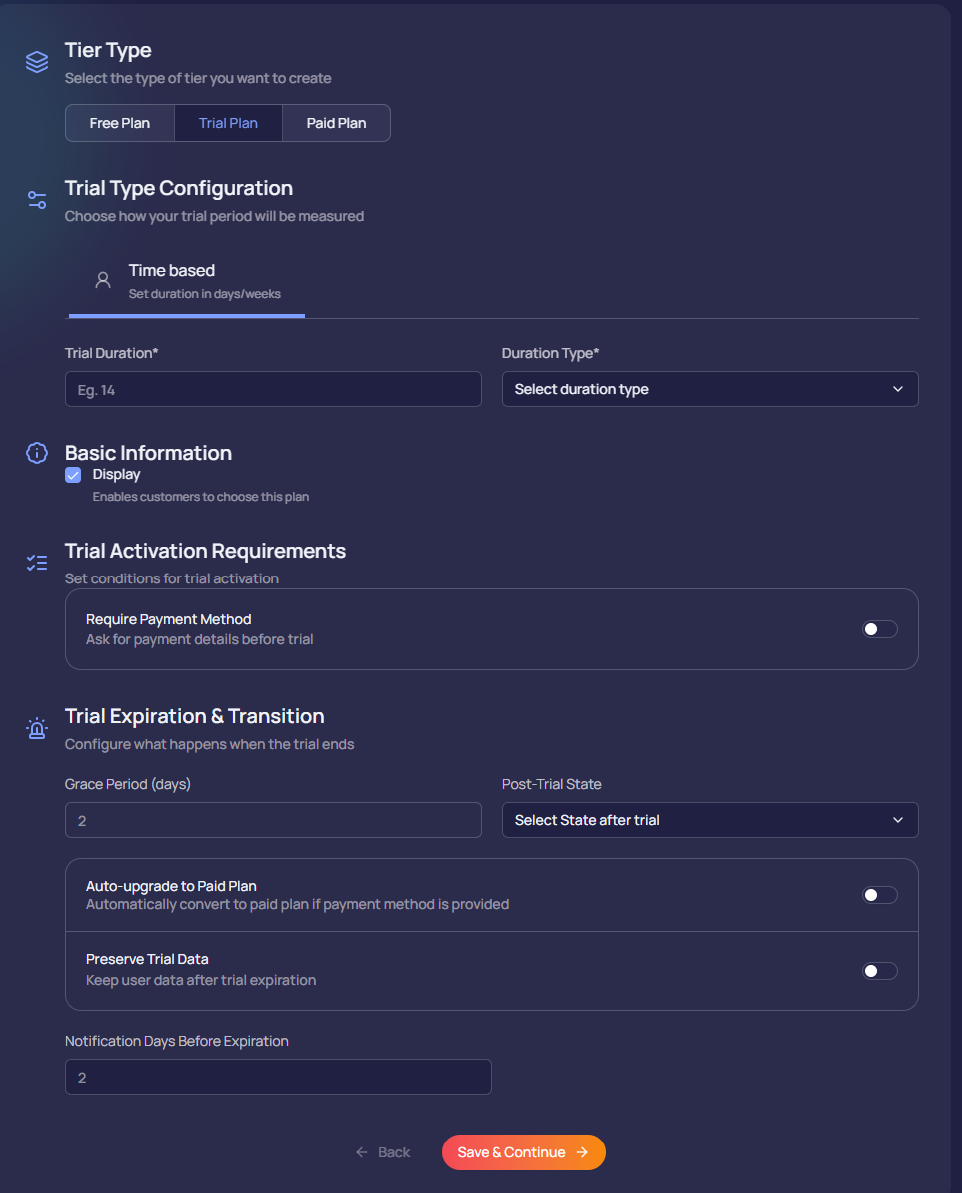
For Trial Plan, you’ll now see a few more options.
- Trial Duration – Set how long the trial lasts (e.g., 14 days)
- Duration Type – Choose days or weeks
- Required Payment Method – If you want to collect card details before trial starts (optional)
Then, you can set what happens when the trial ends:
- Auto-upgrade to Paid Plan
- Preserve Trial Data
- Grace Period (Delay account restriction for a few days after the trial ends)
- Notification Days (Choose how early to notify users before the trial expires)
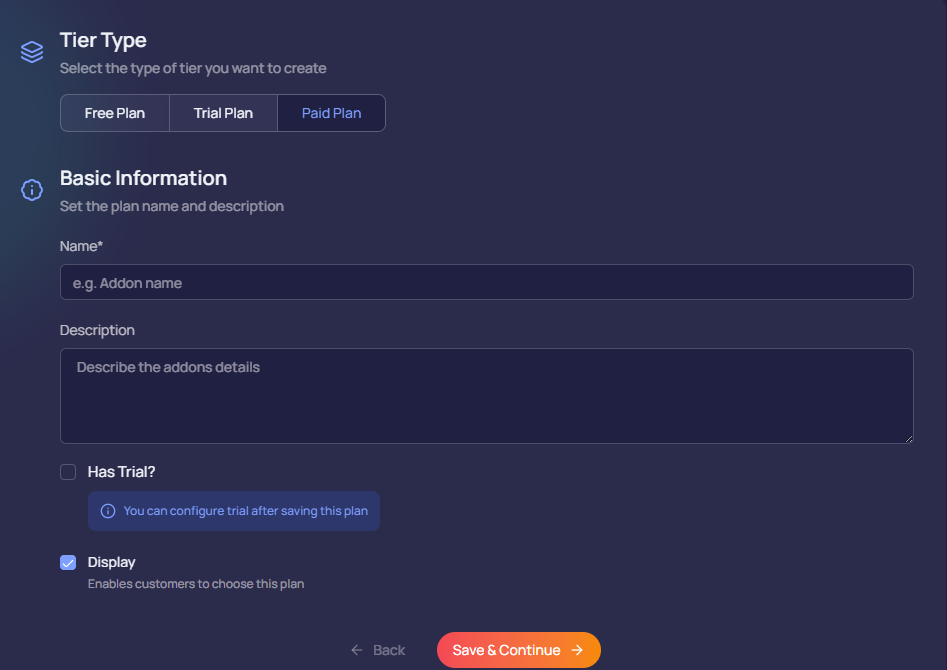
Step 5: Configure Paid Plans
Paid plan setup is mostly similar to Free Plan. You can later add add pricing and billing cycles (monthly, yearly, etc.).
You can also tick the checkboxes for:
- Has Trial: If you want to offer a free trial before the paid plan starts
- Display: If you want to display this plan to users
Click Save & Continue when you're ready.
Once saved, your tier appears in the list. You can edit, reorder, or mark one as default.
2] Addons / Credits
Sometimes, you want to give users a flexible way to purchase extra features or upgrades - like more credits, bonus tools, or added storage, without changing their main plan.
That’s exactly what the Addons / Credits tab is for.
Let’s walk through how to create an addon.
Step 1: Go to Addons / Credits
Navigate to 'Billing & Revenue' → 'Addons / Credits'.
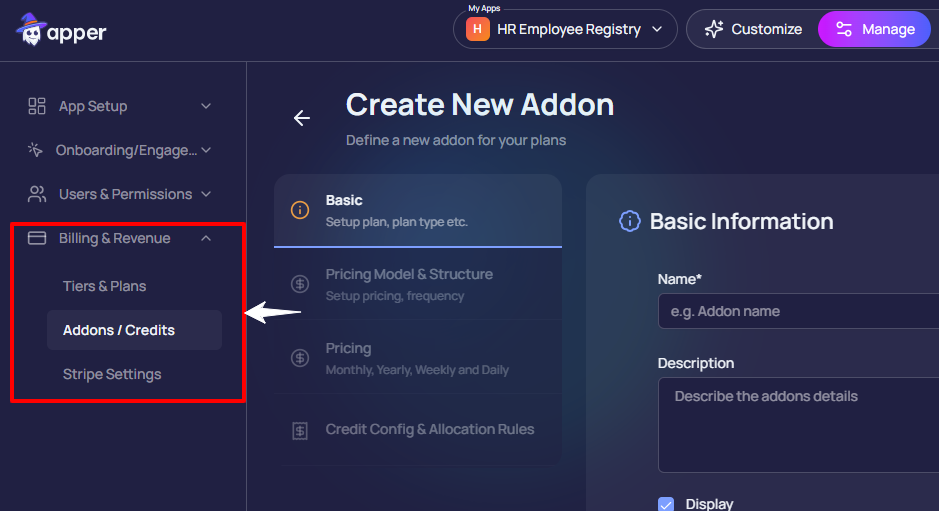
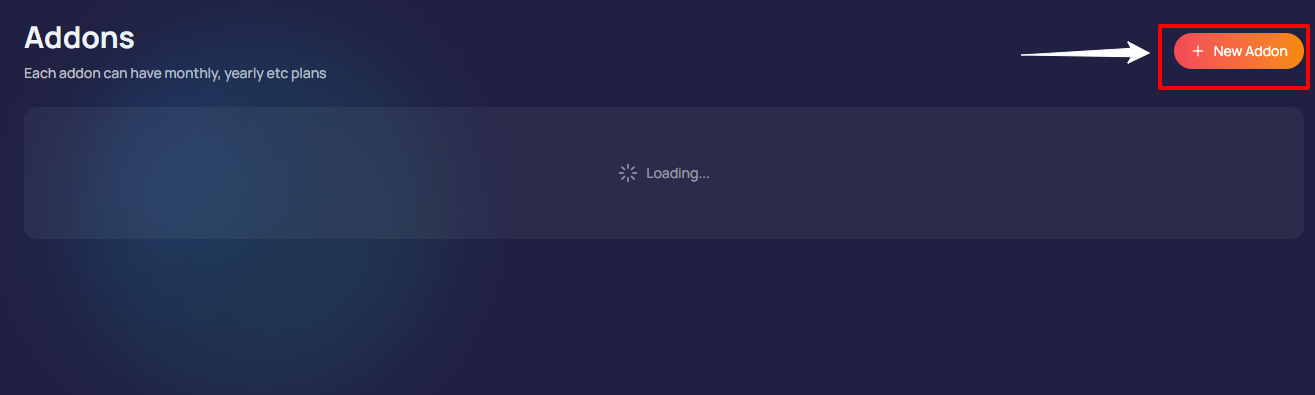
Then click '+ New Addon' on the top right to create your first one.
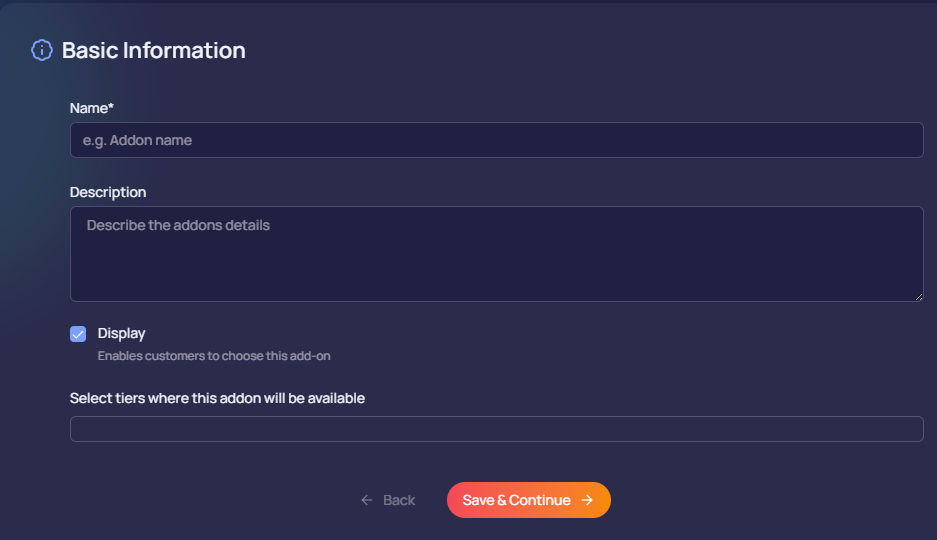
Step 2: Add Basic Info
Enter the basic details for your addon like:
- Name – What’s the addon called? (e.g., Extra Credits, Unlock Pro Tools)
- Description – A short note explaining what it includes
- Display – Tick this checkbox so users can see and select the addon
- Select Tiers – Choose which plans this addon is available for
Once you're done, click Save & Continue
Stripe Settings
To process payments, Apper provides built-in integration with Stripe — a secure, global payment platform.
Here’s how to set it up:
Step 1: Go to Stripe Settings
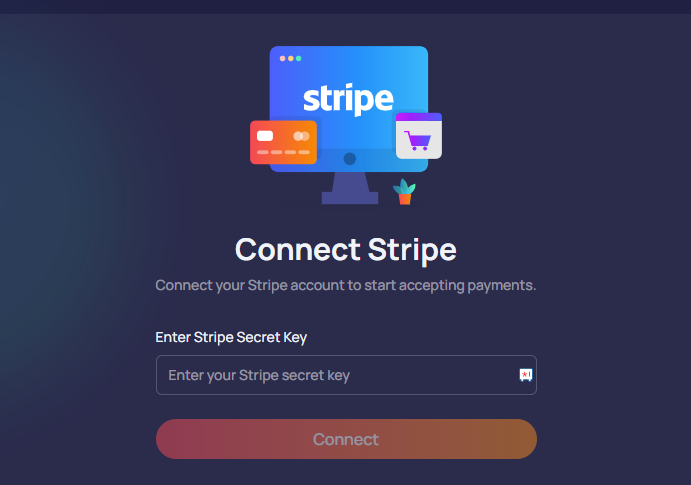
In the sidebar, go to 'Billing & Revenue' → 'Stripe Settings'. You’ll see a screen that says Connect Stripe.
Step 2: Enter Your Stripe Secret Key
- Open your Stripe account
- Go to Developers → API Keys
- Copy your Secret Key
- Paste it into Apper
- Click Connect
That’s it. Your Stripe account is now linked to your app!
What Happens Next
✅ Once connected, you can manage all payment processes in Stripe:
- Charging users for plans and add-ons
- Managing subscriptions and renewals
- Sending receipts and invoices
- Depositing funds into your bank account
You don’t need to code or configure anything else. Just set your plans in Apper, and Stripe will take care of the payments.