Manage Your App – Admin Settings
Now that your app is almost ready, it’s time to take care of a few essentials, like what your app is called, who can access it, how people sign up, how to charge users, and more.
You’ll find all of these under the ‘Manage App’ section.

Manage App Type
Why Apper Asks for "App Type" When You Connect a Database
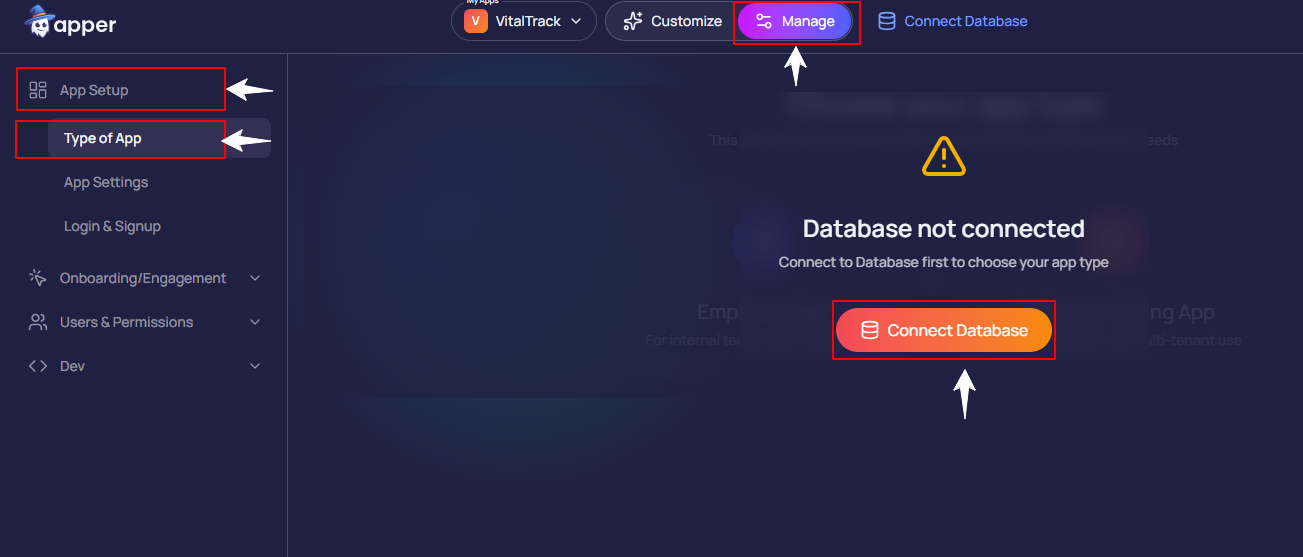
You've just created your app in Apper, customized the name, and set up the basics. Everything looks ready - and then Apper asks:
"What type of app are you building?"
If you're seeing this and wondering why it matters or what this step even means, don't worry.
This isn't just a formality - this step helps Apper understand who will use your app and how their data should be organized behind the scenes.
To explain that, let's first look at what's actually happening when you "connect a database."
What's Actually Happening When You "Connect a Database"
Before we go further, let's clear up what a database really is.
Think of a database as the memory or brain of your app. It's where all your apps' information lives, safely stored and easy to recall whenever needed.
Every time someone:
- Signs up,
- Fills out a form, or
- Uploads something,
Apper saves that information in your database. That's how your app remembers users, messages, orders, or anything else they do.
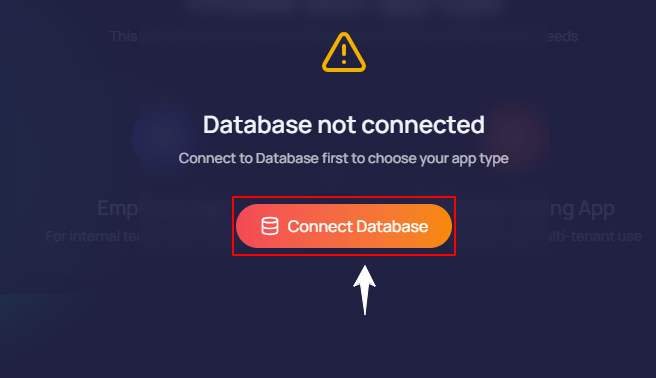
Without a database, your app would forget everything the moment you close or refresh it.
Now, right after you click Connect Database, Apper immediately asks one simple but important question:
"Choose your App Type,"
That's because not every app works the same way. Some are built for your team, like an internal HR tool or CRM. Others are built for your customers, like a booking portal or student app.
So when Apper says "Choose your App Type," it's really asking:
"Who will use your app, and how should their data be separated?"
Your answer helps Apper automatically set up:
- Who can join the app
- How users log in
- What data can they see or edit
- What data stays private and secure
In short, choosing your App Type tells Apper how to build the right structure for your users and their data, so everything works correctly and securely from the very start.
The Two App Types
When you connect your database, Apper asks:
"Choose your App Type"
You'll see two options on your screen:
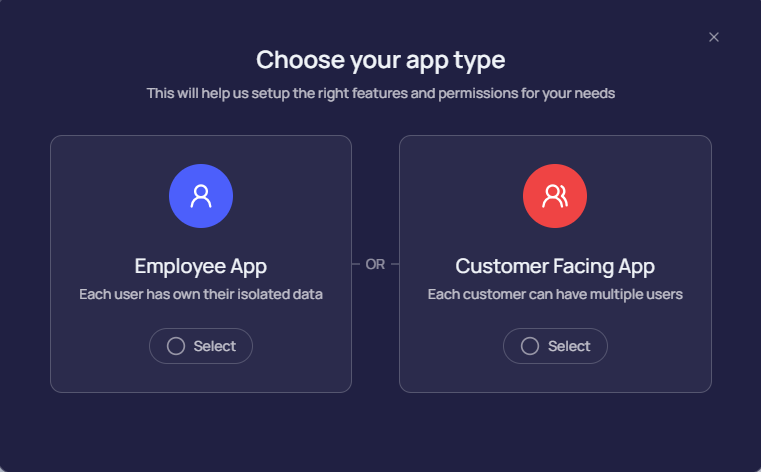
1. Employee App
Choose this if the app is meant for your own staff or team members, people who work inside your company.
Examples:
- A dashboard where employees track their work
- An HR or attendance tool
- A sales or inventory tracker
Everyone who joins your app will be part of the same company space. Each person has their own account, but you can decide what they can see and do.
For example, the HR manager can see employee details, the CEO can see reports, and each user gets access based on their role.
Who can see what: At first, everyone can only see the things they create, like their own tasks or projects. If you want everyone in the company to see everything, you can turn on a setting called "viewAll."
Think of it like this
viewAll OFF: Everyone sees only their own work.
viewAll ON: Everyone can see the whole company's work.
2. Customer App
Choose Customer App if your app is meant to be used by your customers.
Each customer gets their own separate space, completely private. So if you're building something like a client portal, subscription dashboard, or booking system, this is the right choice.
If you select Customer-facing App, Apper will ask for a few more details before setting things up.

First Part: Set up your Customer App
First, choose how your customers will use the app
Apper gives you two choices:
1. Single Users
Use this if your app is for individual customers who use it on their own. Each user signs up, logs in, and sees only their own data, no one else's.
Best for:
Personal or individual apps
- Budget trackers
- Student dashboards
- Profile or portfolio builders
Not best for:
Apps where multiple people from the same company, school, or team need to share and work on the same data.
For example: project management tools, group dashboards, or CRMs.
How it works: Each user has their own account and can't invite teammates.
Example: A budgeting app where each person tracks their own expenses.
2. With Teams
Choose this option if your customers are companies, schools, or organizations where multiple people need to collaborate within the same account.
In this setup, Admin creates a shared workspace (like a company or group space) and invites teammates to join.
Best for: Business or team-based apps where users need to collaborate. For example:
- A project management tool where teams assign and track tasks
- A CRM where sales reps share client data
- A shared workspace app where teams store notes and files together
Not best for:
Simple apps where customers don't need to collaborate or share data with others.
For example: personal dashboards, budget trackers, or individual learning apps.
How it works: Each company gets its own private workspace:
- People in Company A can see and work on their company's data together.
- Company B cannot access anything from Company A.
- You (the app owner) can still view everything if needed.
Example: In a project management app, a marketing team can log in to their workspace, assign tasks, and track campaigns together — while a finance team has its own private workspace and can't access the marketing team's projects.
Second Part: Set Data Privacy (Who Can See What Inside Your App)
Once you've decided how your customers will use your app, the next step is to decide how private should be their data.
This step helps Apper to understand who can see what inside your app, in other words, how information is shared or restricted between users.
You'll see two options:
Option 1: Customers can only see their own data
Choose this if your app needs to keep every customer's information completely private. Apper automatically ensures that each customer (or team) can only view and manage their own records.
Best for: Apps like CRMs, client dashboards, or booking systems, where each customer should only see their own data.
Example: In an invoicing app, each client can log in and view only their own invoices, payments, and messages — not anyone else's.
What Apper does in the background: When you select this option, Apper sets visibility rules in your database so every customer's data is isolated and secure. Even though all data is stored in one place, each user only accesses their own data.
Option 2: Rules will decide who can see what
Choose this if you want to partially share certain parts of your app between users. For example, a leaderboard, forum, or comment section where people can see or interact with each other's content.
Best for: Community-based or interactive apps where users should be able to view shared data.
Example: In a quiz or fitness app, users can see everyone's scores on a leaderboard, but their private profiles remain hidden.
What Apper does in the background: When you select this option, Apper keeps your private data safe but lets you define exceptions, pages that can be public or shared.
💡 Note: If you're unsure, choose "Customers can only see their own data." You can always make it more open later using Apper's simple visibility settings.
Optional "Public Data" Mode
Want to share some parts of your app publicly, even people who haven't signed up? That's what Public Data is for. Think of things like:
- A product catalog
- A photo gallery
- A public-facing landing page
By default, Public Data is turned off.
Turning Public Data On
When you enable it:
- Apper creates a Public profile automatically
- You need to assign permissions to this profile to control what visitors can see
- Without proper permissions, visitors will see a "Permission Denied" message
Turning Public Data Off
This removes all public access and deletes the Public profile. Any settings you configured will be lost.
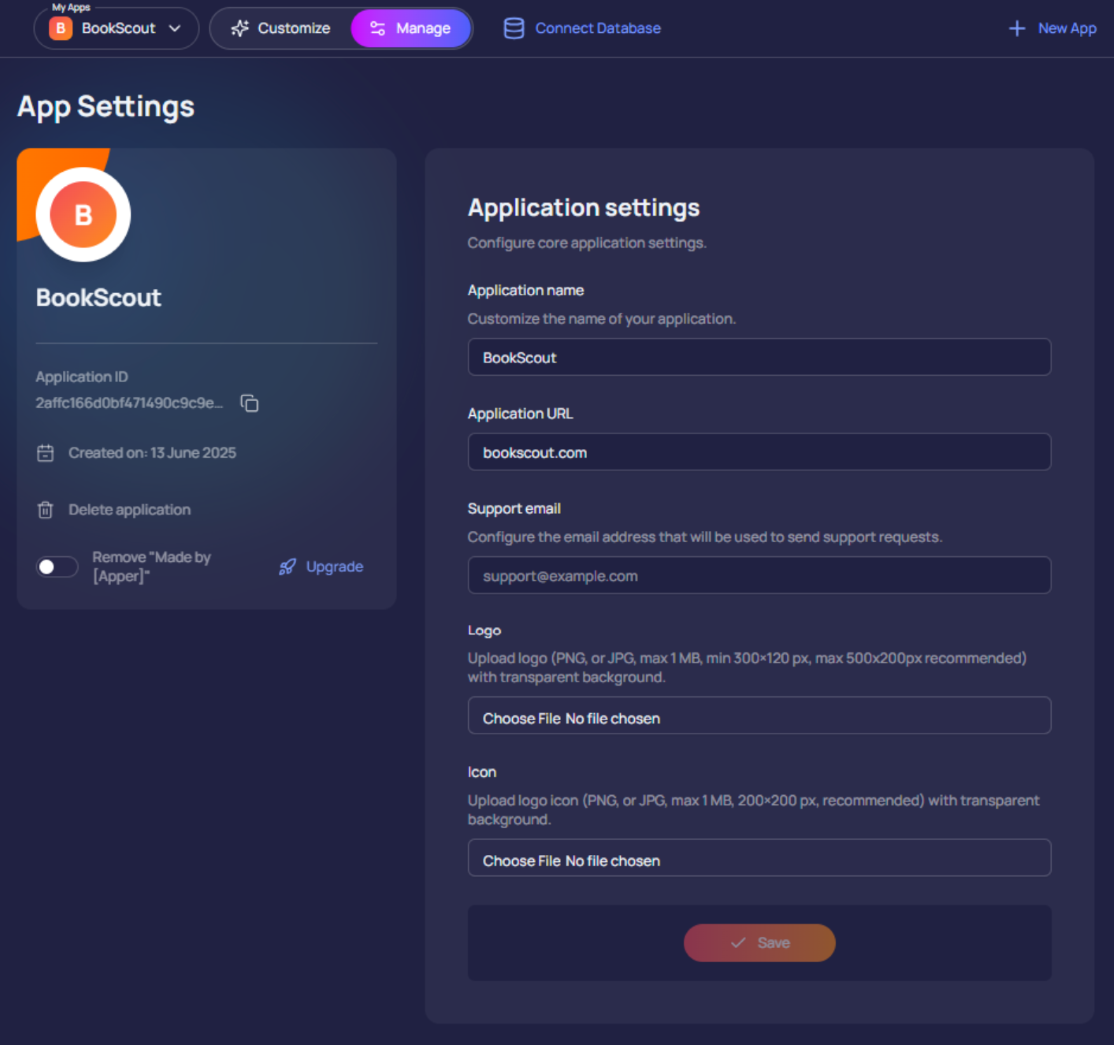
Manage App Settings
Inside the Manage App panel, navigate to App Setup > App Settings. This is where you set up key details that define how your app works.
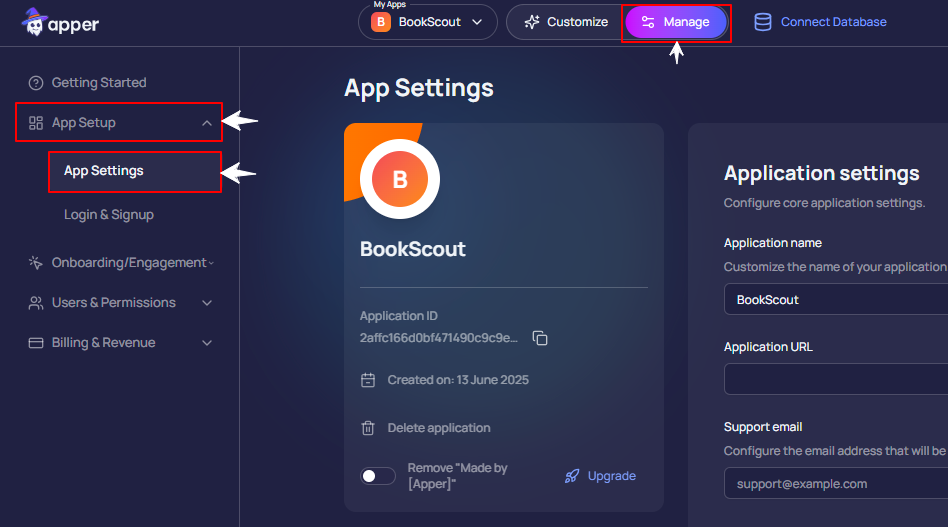
Here’s what you can customize:
-
App Name: As your app starts to take shape, give your app a clear and meaningful name that reflects its purpose.
-
App URL: Create a clean, shareable link (e.g.
yourapp.apper.app) to make your app easy to access. -
Support Email: Add a professional support email so users can contact you if they need help. A dedicated support email builds trust and keeps things professional.
-
App Logo: Upload your brand’s logo. It will appear on login screens and in the app header.
-
App Icon: Set a favicon that appears on browser tabs and mobile home screens. It’s a small detail that adds a branded touch.
-
Remove Apper Branding (Paid feature): Turn off the “Made by Apper” badge at the bottom of your app for a cleaner, white-labeled experience.
-
Delete App: Remove an app if you no longer need it. Don’t worry, your apps aren’t deleted permanently right away. You can restore them later if you change your mind.